


Recently I’ve stayed at a number of hotels own by IHG (such as Holiday Inn, Intercontinental, and Holiday Inn Express). They all use unsecured (public / open) Wi-Fi networks, which utilise a pop-up login/authentication page, otherwise known as a “captive portal”.
In my case, the hotel used a pop-up based authentication system. This uses the captive portal pop-up built into macOS, along the lines of what you see here:
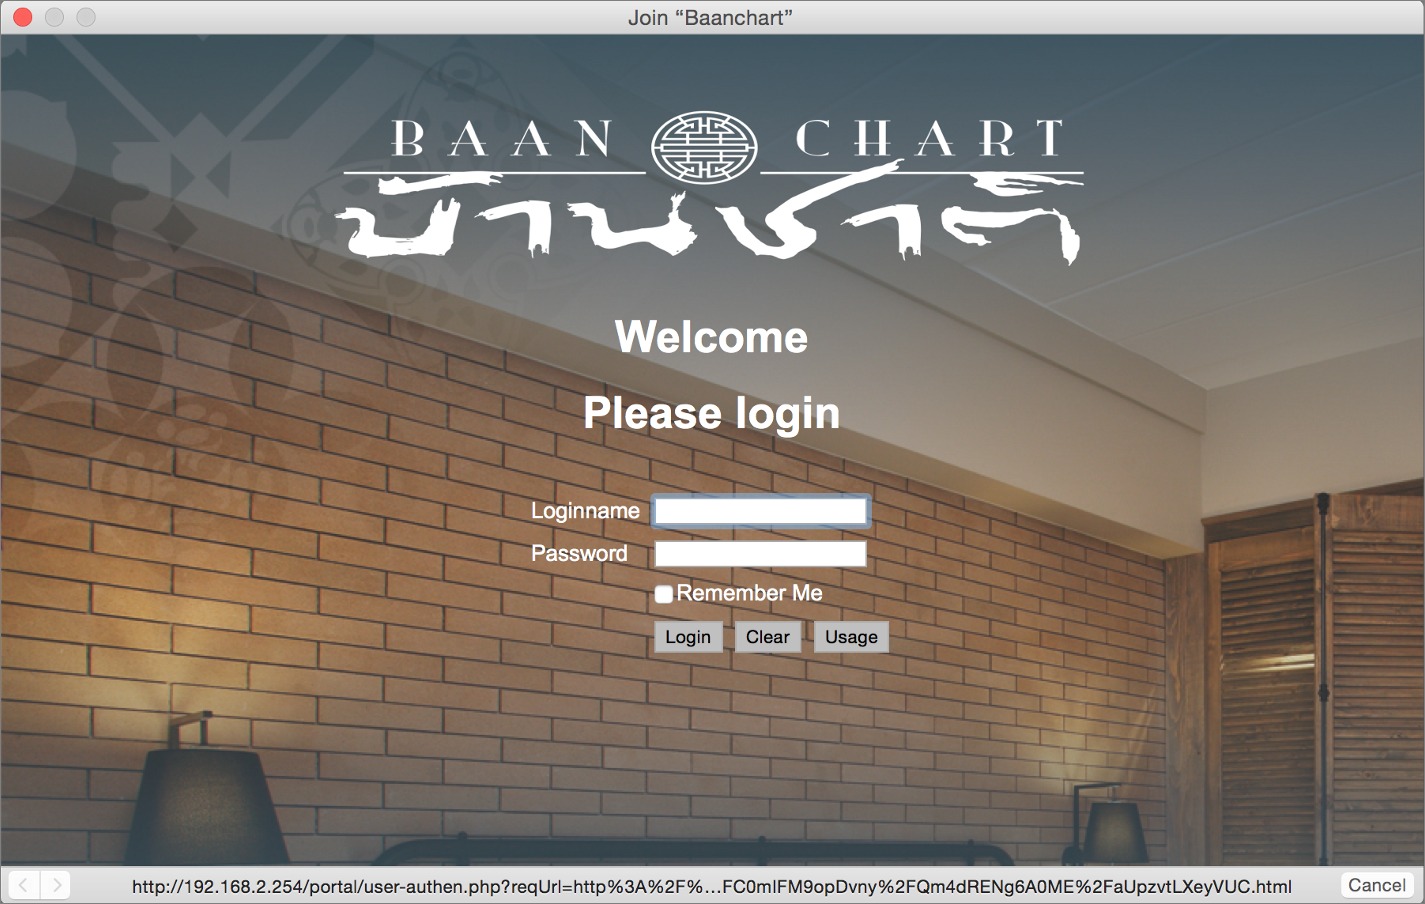
The window title will always say “Join ‘NETWORK NAME'”. The footer of the window will show a network address, and a Cancel button.
You’ll come across these on many unsecured Wi-Fi networks, such as those found in hotels and airports. Once you authentic your device (which may required entering a room number and surname; entering a password; or, simply agreeing to some terms of use; etc.) the network might simply remember your device from that point on, or it might time-out at some stage, and require you to go through the captive portal interface again. I’ll refer to this as a “pop-up captive portal”.
Another way captive portal networks authentic users is through a web browser page. So there’s no pop-up like that shown in the above screenshot. Rather, when you try to access any webpage you get redirected to a login or authentication page in your web browser. After that, you can browse and use the Internet as per normal. I’ll refer to this as the “browser captive portal”.
What if it doesn’t appear?
Here’s the problem addressed by this article: In some circumstances the pop-up doesn’t appear. This isn’t unique to macOS. It can fail to appear on any OS, such as Windows, etc. I am only going to address how to fix this on macOS, although the same concept can be applied on other desktop operating systems (Linux, Windows, etc.).
There are a couple of common causes for the captive portal interface to not appear:
1. Custom DNS entries
This issue normally only affects “Browser captive portals”.
If you have no idea what a custom DNS is, you can likely move on to the next cause below. If, however, you have changed the DNS settings on your “Location” in the Network Preferences, this is the likely cause of the captive portal not appearing. For example, you may have set your Location (in System Preferences > Network > Wi-Fi > Location …) to use Google DNS (8.8.8.8, and 8.8.4.4) or OpenDNS (208.67.222.222, and 208.67.220.220), or Cloudflare DNS (1.1.1.1, and 1.0.0.1) being the most common examples.
The problem here is that “Browser captive portals” need your Wi-Fi network connection to use the portal’s specific DNS servers to intersect your access to the Internet. If the captive portal doesn’t recognise your device (which will be the case when you access a captive portal for the first time) it will redirect your browser to a captive portal page. If you have set your Wi-Fi to use specific DNS servers this will override the captive portal network from setting the DNS servers it requires.
The solution here is to add a new Location in your Network settings, with no DNS specified. Call it something like “No DNS”. When accessing these networks change to that Location. Problem solved.
2. Device Recognition issue
This cause is perhaps the most common. As far as I can tell, it typically happens when the network has already interacted with your device, and authenticated it. Yet, for whatever reason, later on the network starts to block your device (as though it is not authenticated) yet it still recognises it as authenticated. Because it continues to recognise your device it doesn’t present you with the captive portal pop-up window.
The solution is relatively simple, you need to spoof a new MAC address. The way the network recognises your device is via the MAC address of your Mac’s Wi-Fi receiver. What you need to do is temporarily change (or “spoof”) your computer’s MAC address. I’ve covered this extensively in the article on Apps to spoof your MAC address and How to change / spoof MAC address on MacOS, including Big Sur. You’re options are to either use an App (such as WifiSpoof) or
With a new (spoofed) MAC address, the unsecured captive portal network will not recognise your device as one it has already interacted with. You will then get prompted to join the network, as per normal.